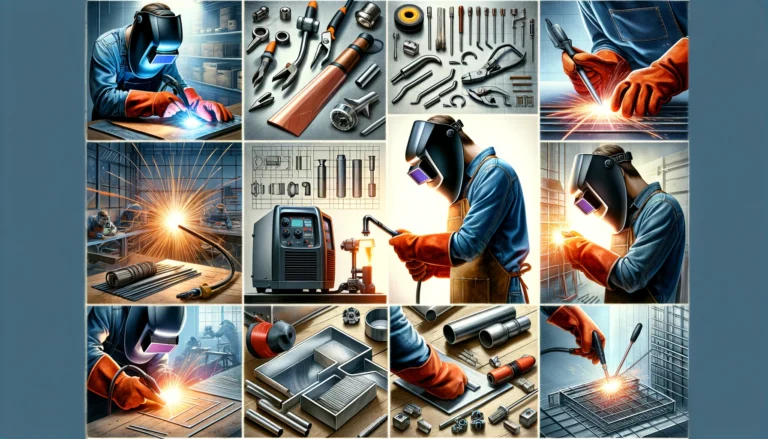
How to Setup a Tig Welder
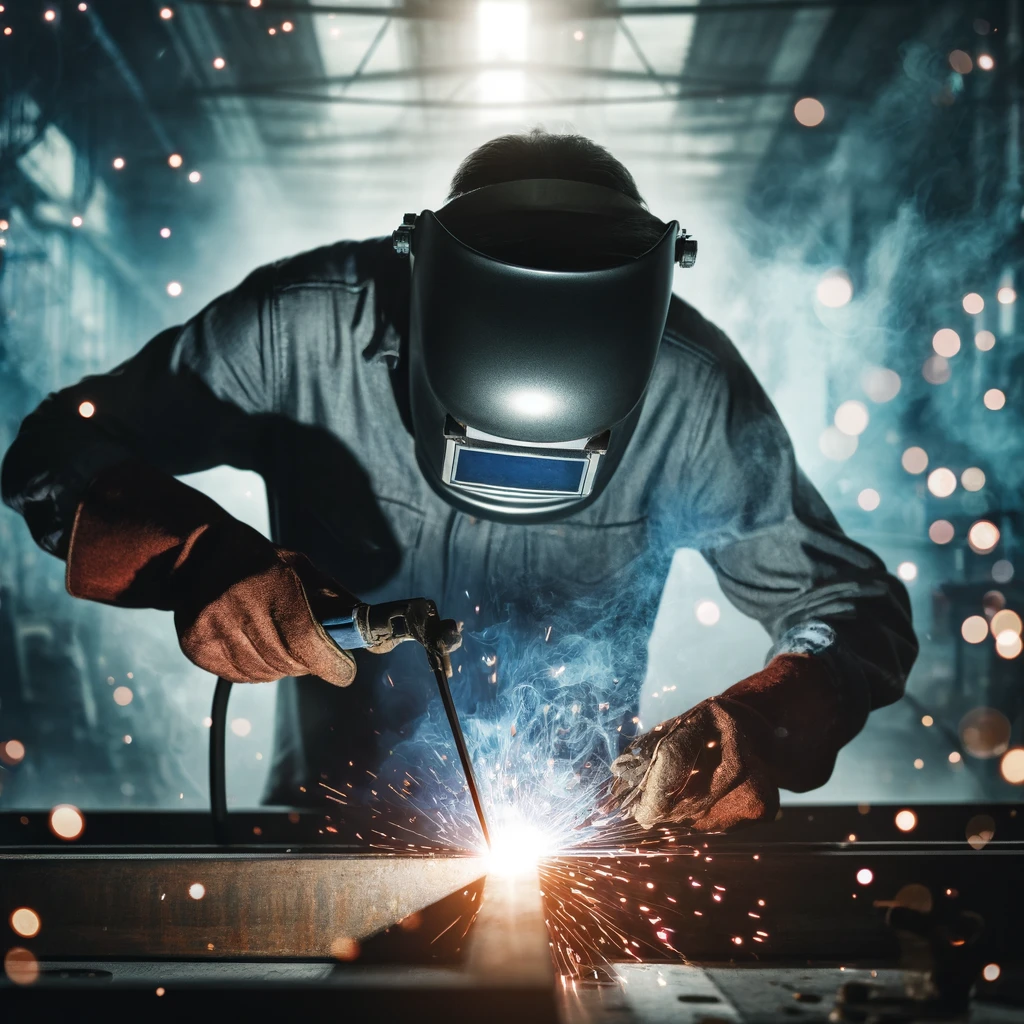
TIG welding, or Tungsten Inert Gas welding, is a highly precise and versatile welding technique that’s essential for achieving clean, strong, and high-quality welds on a variety of metals.
This method uses a non-consumable tungsten electrode to produce the weld, while an inert gas, typically argon, shields the weld area from atmospheric contaminants.
Ideal for both thin and thick materials, TIG welding is preferred in industries where the quality of the weld is critical
As you embark on setting up your TIG welder, understanding the components and processes involved will be crucial to mastering this sophisticated skill which is how we can help.
What is TIG Welding?
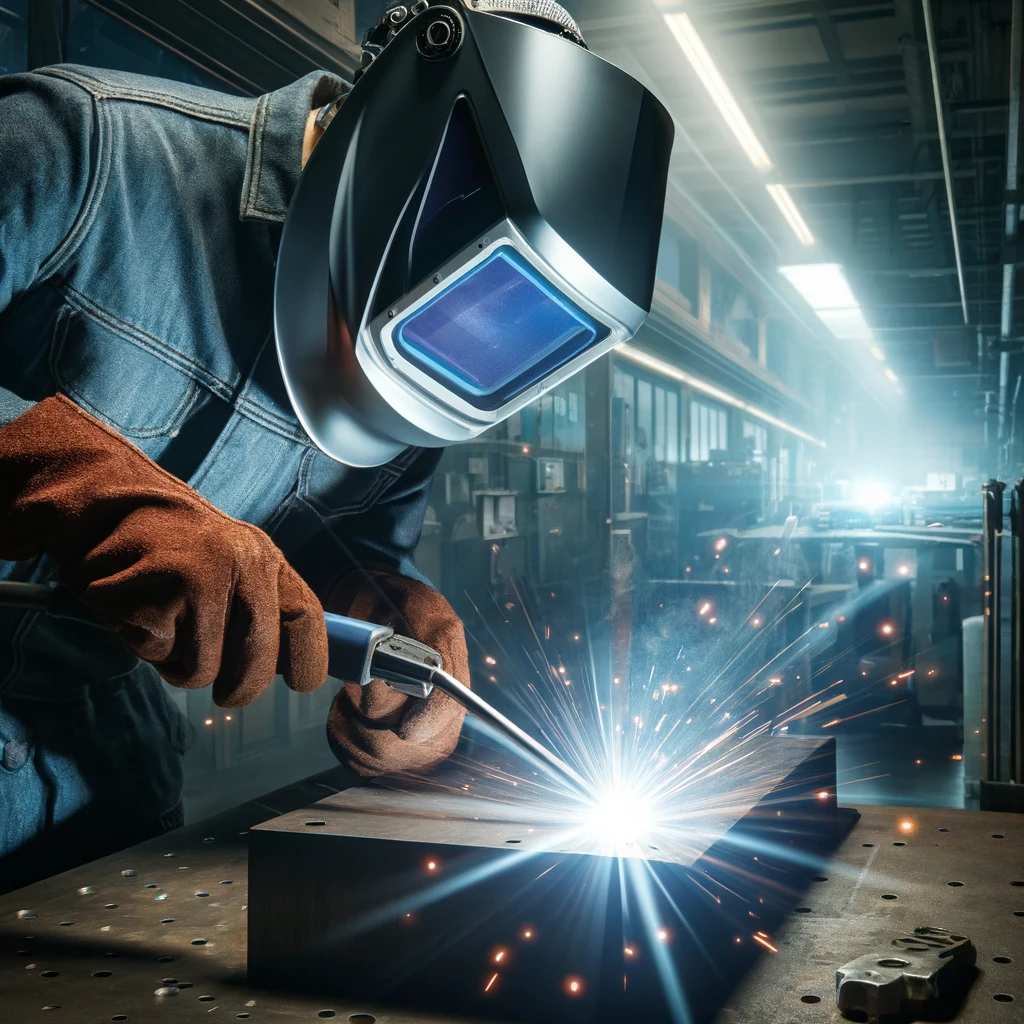
TIG welding, or (Tungsten Inert Gas welding), is a precise method of welding that uses a tungsten electrode to produce the weld.
This technique is distinguished by its use of an inert gas, typically argon, to shield the weld area from atmospheric gases such as nitrogen and oxygen, which can cause defects in the weld.
The process involves creating an arc between the tungsten electrode and the metal being welded.
A key benefit to using TIG Welding is that, unlike other welding methods, the electrode in TIG welding is not consumed during the welding process offering better control to the weld.
Therefore, TIG welding is most ideal for high-quality, precise welds especially on thinner materials.
Examples of these thinner materials:
- Sheet Metal
- Tubing and Pipe
- Automotive Parts
- Artistic Sculptures
- Aerospace Components
- Kitchen Utensils and Tools
- Electronic Cases and Enclosures
Also it’s worth noting, TIG welding you can more easily control the adjustment of heat input while welding, when working with such thinner matierls.s this is crucial to allow for full control on more delicate and intricate pieces.
Ultimately, TIG welding techniques will provide superior results it yields in terms of weld integrity and appearance make it a valuable skill for any professional welder.
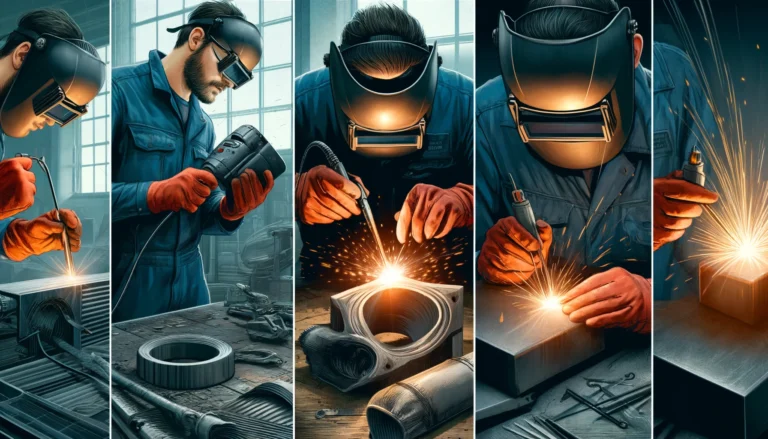
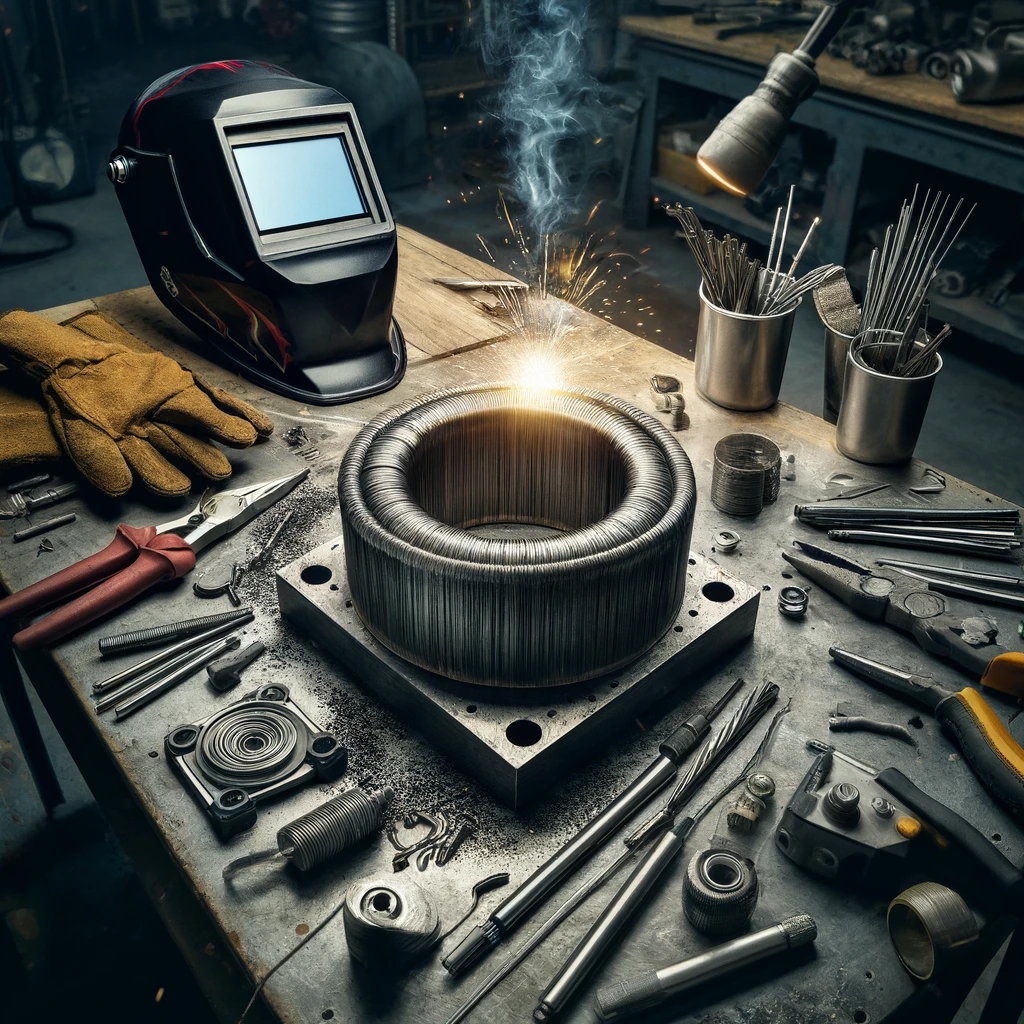
What are the Essential Equipment and Materials for TIG Welding?
Tungsten Electrode:
The Tungsten Electrode is the key component that forms the arc with the metal. Tungsten electrodes come in various types, each suited for different materials and different types of welding.
Shielding Gas:
The Type of shieling gas used for Tig Welding generally is argon or a mix of argon and helium, used to protect the weld area from atmospheric contaminants, examples of these which can affect welding include oxygen, nitrogen, hydrogen, carbon dioxide, water vapor, and dust, each potentially leading to various weld defects giving a less than adequate quality of welding. So this is where precision and experience comes in.
Gas Regulator and Hose:
Equipment to control and deliver the shielding gas from the cylinder to the welding torch. Also make sure the hose has no leaks and the regulator is well sealed.

Ceramic Cup:
The ceramic cup fits onto the end of the welding torch, focusing the shielding gas onto the weld area and protecting the tungsten electrode.
Collets and Collet Body:
Hold the tungsten electrode in place within the torch.
Foot Pedal or Hand Control: Allows for control of the welding current during the welding process, giving the welder the ability to make adjustments while welding.
Metal Workpiece:
The base metals to be joined, which must be clean and free of any contaminants.
Filler Material: Rods of metal that may be added to the weld pool, matching the base metal in composition.
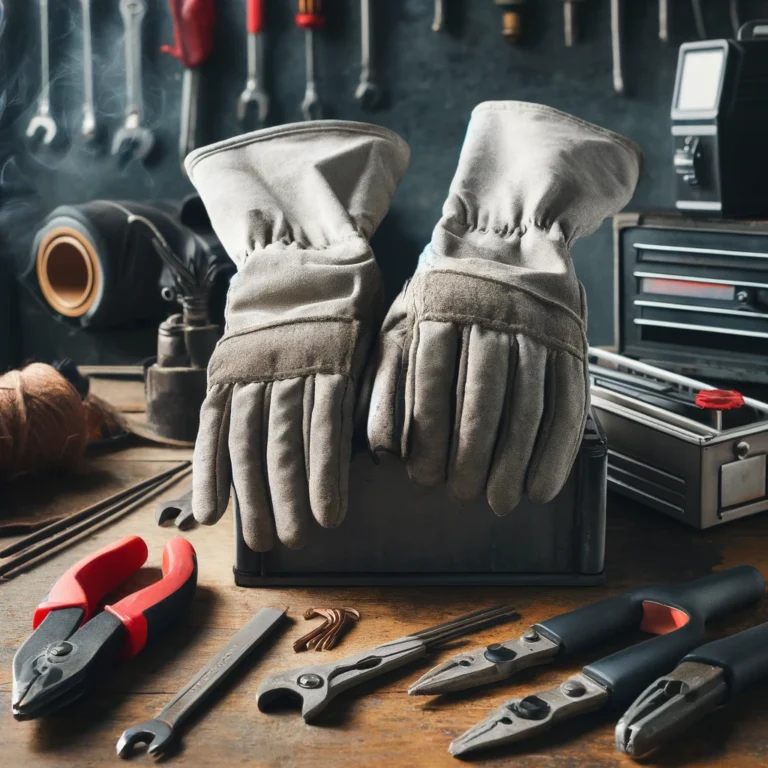
Protective Gear:
At all times wear protective clothing.
The essentials are a welding helmet with a suitable filter to protect the eyes from the intense light of the arc, heat-resistant gloves, and a leather apron or jacket to protect against sparks and heat.
Injury can easily be sustained if the correct and appropriate cloting and equipment are not used.
Cleaning Supplies:
Once done, always keep your equipment cleaned, this will be vital for next used, when any residue or contaminants could hinder your next project.
Use wire brushes and chemical cleaners specific to the metal being welded, used to prepare the surface prior to welding.
Setting Up Your Workspace for Tig Welding
Safety First:
Ensure the area you are working in has all the necessary fire safety tools and equipment, such as a a fire extinguisher and is free from flammable materials. All good working places should have this in mind as a priority.
It’s unlikely they will be needed but it is always wise to have them in place for a rare but possible event, especially when dealing with welding processes.
Ventilation:
Due to the nature of TIG Welding, or just welding in general, good ventilation is crucial to avoid inhaling harmful fumes produced during welding. Use exhaust fans, and fume extractors, or ensure adequate natural airflow.
Once again, all safe and good working practices like this should always be in place.
Also, keep a cluter-free area, sometimes it isn’t the welding itself that’s a problem, but its the limited vision the welding mask can give, where you can trip or knock things over.
Stable Work Surface:
A sturdy metal table or workbench is ideal for supporting the workpiece securely during welding.
Proper Lighting:
Adequate lighting is essential for precise welding. Supplemental task lighting can help illuminate the work area effectively.
Grounding the Welder:
Ensure the welder is properly grounded to prevent electrical accidents. This is also essential to achieve high quality if work.
Tool and Supply Organization: Keep all tools and supplies like tungsten electrodes, filler rods, and replacement parts organized and within easy reach.
Ideally, when you’re kitted up, you don’t want to be walking around, especially with a mask on, as this is when accidents can occur.
Isolation:
If possible, isolate the welding area to prevent bystanders or coworkers from accidental exposure to the welding arc and spatter. Where possible have your back to all work colleagues.
Inspection for Safety Hazards:
Regularly check the area for any potential hazards and address them promptly to maintain a safe working environment.
Sometimes its a good iidea not to be in “work mode” to spot potential hazards, as yuo can concentrate soloely on this issue at this time.
Preparing the TIG Welder
Assemble the Welder:
Start by setting up the TIG welder, always following the manufacturer instructions, generally they are the same, but sometimes there are differences to one manufacturer to another also ensure all connections are secure.
Install the Tungsten Electrode:
Insert the tungsten electrode into the torch, making sure it’s held firmly in place by the collets and collet body.
Set Up the Shielding Gas:
Connect the gas cylinder to the welder using a gas regulator and hose, and adjust the flow rate as needed, start low and work your way up.
Test the Equipment:
Before beginning to weld, do a test run to check that the welder, gas flow, and torch are all functioning correctly.
At this point see if there are weaknesses, maybe try turning the flow up and down, and look around for any leaks, making sure all seems to be working fine before you begin your project.
NOTE: It is at this time you will most likely find somerhing worng, as when you are welding you will be focusing elsewhere.
So there you have it, Setting up a TIG welder involves careful preparation of both equipment and workspace to ensure optimal welding conditions and safety.
Its very important that you select the right tools and materials to configuring your workspace and TIG welder.
NOTE always remember each step is crucial for achieving high-quality welds.
Remember to practice regularly and maintain your equipment to keep improving your welding techniques.
With the right setup, TIG welding can provide exceptional results on a variety of metals especially with practice, therefore making it a valuable skill for any welder.
For DIYers, the welding process can be fun, and it can be more fun when you do it with a TIG welder. Apart from this, one more thing makes your work extremely enjoyable, and that is when you know Tig welding settings.
When you’ve recently been involved in TIG welding, you’re definitely aware that it’s a difficult method to understand. It is, however, rewarding, and once you get a grasp of it, you’ll be producing stunning metal workpieces without any time.
You’ll therefore need to learn how to set up a TIG welder as part of studying the TIG welding technique. Well, there is a bundle of information available on the internet, but we have made you his article in a manner in which you can quickly have a grasp on tig welding setup.
Mandatory things
The question of how to set up a TIG welder gets a speedy answer when you have all the necessary and required things. A successful tig setup made of a few basic components that are normally included in the package when you buy it.
A power supply, a cooling system, a gas filter, shielding gas, controllers, a remote control, and work clamps and cables are all needed. Extra gas and coolant lines, as well as the requisite patch cables, are also be needed.
Steps or elements for setting up a TIG welder
The first move for many TIG welders is to attach the torch. An adapter should be included in the package if you’re using an air-cooled torch. Attach the torch to the machine’s front. Link your gas outline, the coolant in line, and the coolant line out after that.

Some versions can enable you to connect the torch directly to the gas valve. When you have connected your torch, you can move on to the next six stages of welding machine setup.
1. Connection of remote control
You will surely get a foot pedal with your TIG welder. You will have to plug that in. Instead, some types/models of TIG welders have very easy control. After you have attached the remote control, make sure it’s in a spot that you will feel secure while operating. To see where a normal location for the remote control could be, keep the torch over a supposed job task.
2. Work clamp connection
During TIG welding, you should really get a ground clamp attached to your machine. Depending on what you’re working on, make sure you have enough space to put the clamp on your workbench or at another end of the project.
3. Polarity
This step of how to set up a Tig torch is dependent on the type of metal you are going to weld. Set the front panel on AC if you are going to use your welder on aluminum. For steel or stainless alloy DC setting would be the best. A few welders may show up with a stick alternative as well. There are two DC choices to choose from DCEN and DCEP. Stick welding necessitates the use of the DCEP system set.
4. Tungsten preparation
Before tungsten can use them for welding, most tungsten elements must be formed. Yours would need to be ground to a limit. Often grind in the long direction, with your point being about 2.5 times the element’s diameter. A 200-grit or finer grinding wheel can also help you produce a higher-quality weld. The point must be smooth rather than sharp, and the grinding wheel shouldn’t be used anything else.
5. Assembling torch
In this step, you have first to loosen the back cap on your torch. Afterward, remove the standard tungsten (if available), then the nozzle and copper collet. Tighten up the collet and its body back into the torch. Then nozzle should be placed back into the torch.
This enables you to insert the tungsten you’ve formed into the collet, leaving at least 1/8-inch, but no more than 14-inch, protruding from it. It should not be larger than the thickness of the cup.) The rear cap should then be tightened.
6. Gas and power checkup
We can say that this is the last but not the least stage of our topic on setting up tig welder. You should now be able to connect your TIG welder to your power source. Make sure the power supply you’re using suits the equipment’s manufacturer’s rating.
Some welders come with a plug that you can simply plug into the appropriate electric socket. You may be required to purchase a matching plug if you must use a 240v electric socket.
7. Final round
In this step, you have to double-check if your shielding gas canister is attached to a regulator (or flow meter) that is correctly connected to the gas valve. If your coolant device is a different piece of equipment from the rest of your rig, you can need a separate power cable.
Further Tips
While using a 240v connection, keep the condition of your house in mind when picking the fixing plug. The location of receptacles is also a concern. A TIG welder may usually be used with a 240v receptacle that embraces straight prongs (such as a range or oven).
The receptacle’s slanted prongs suggest a dryer socket that might or might not fit your appliances. If you have a 4-prong outlet, it’s typically for a dryer, and based on the plug you are using, it might work. Seek advice from a local electrician on whatever you can and cannot do with your new electrical system if you don’t have a direct match.
Wrapping up
You can find numerous answers on how to set up a TIG welder, but you have to keep one thing considered by yourself: “safety.” Always wear rubber gloves and shield cover while working with these sparkling electronic machines as safety comes first. Along with that concern with experts when you are stuck somewhere, otherwise it can be a boom. Check out the tig welding diagram also.